What you'll need:
- 1 empty, clean metal can
- white, peach and pink acrylic paint
- medium pink pom pom
- 2 small wiggle eyes
- Cotton balls
- 6-8 medium white or silver sparkle pom poms
- 1 sheet red glitter felt
- 2” wide x 8” long strip of white glitter felt
- White craft glue
- Hot glue gun
|
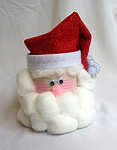

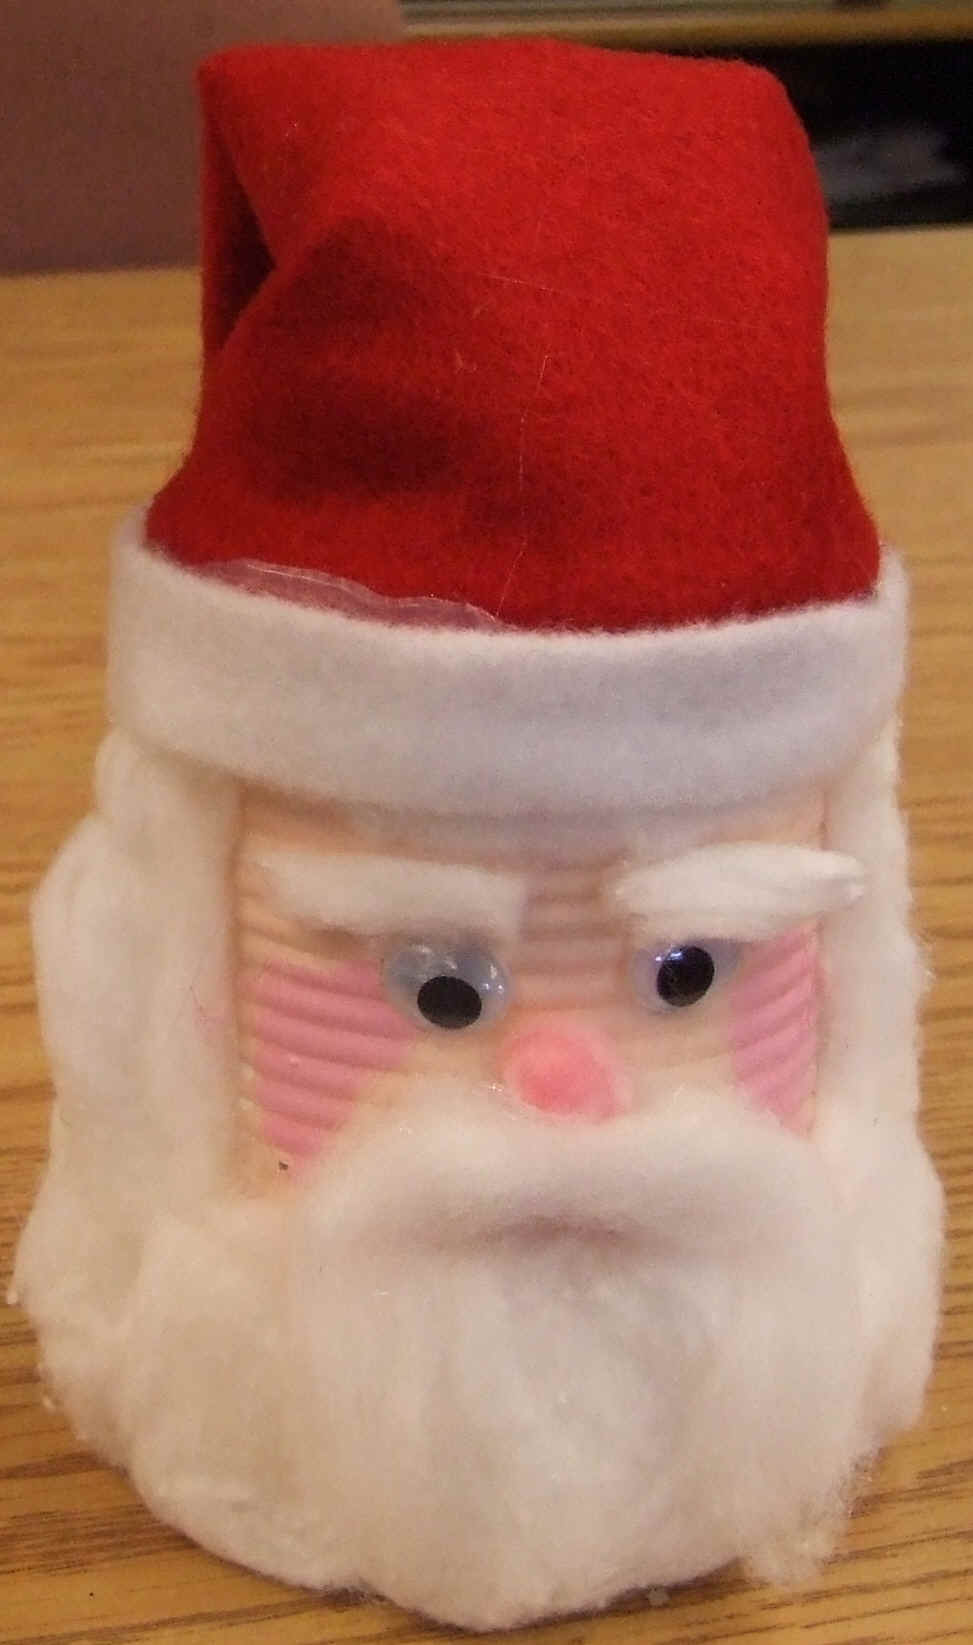
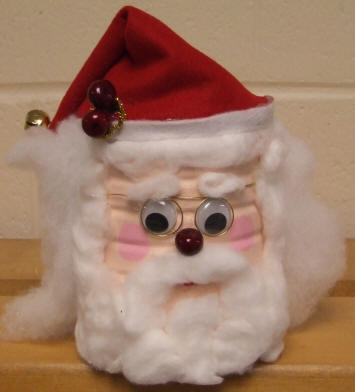
 Samples of student work. Samples of student work.
|
