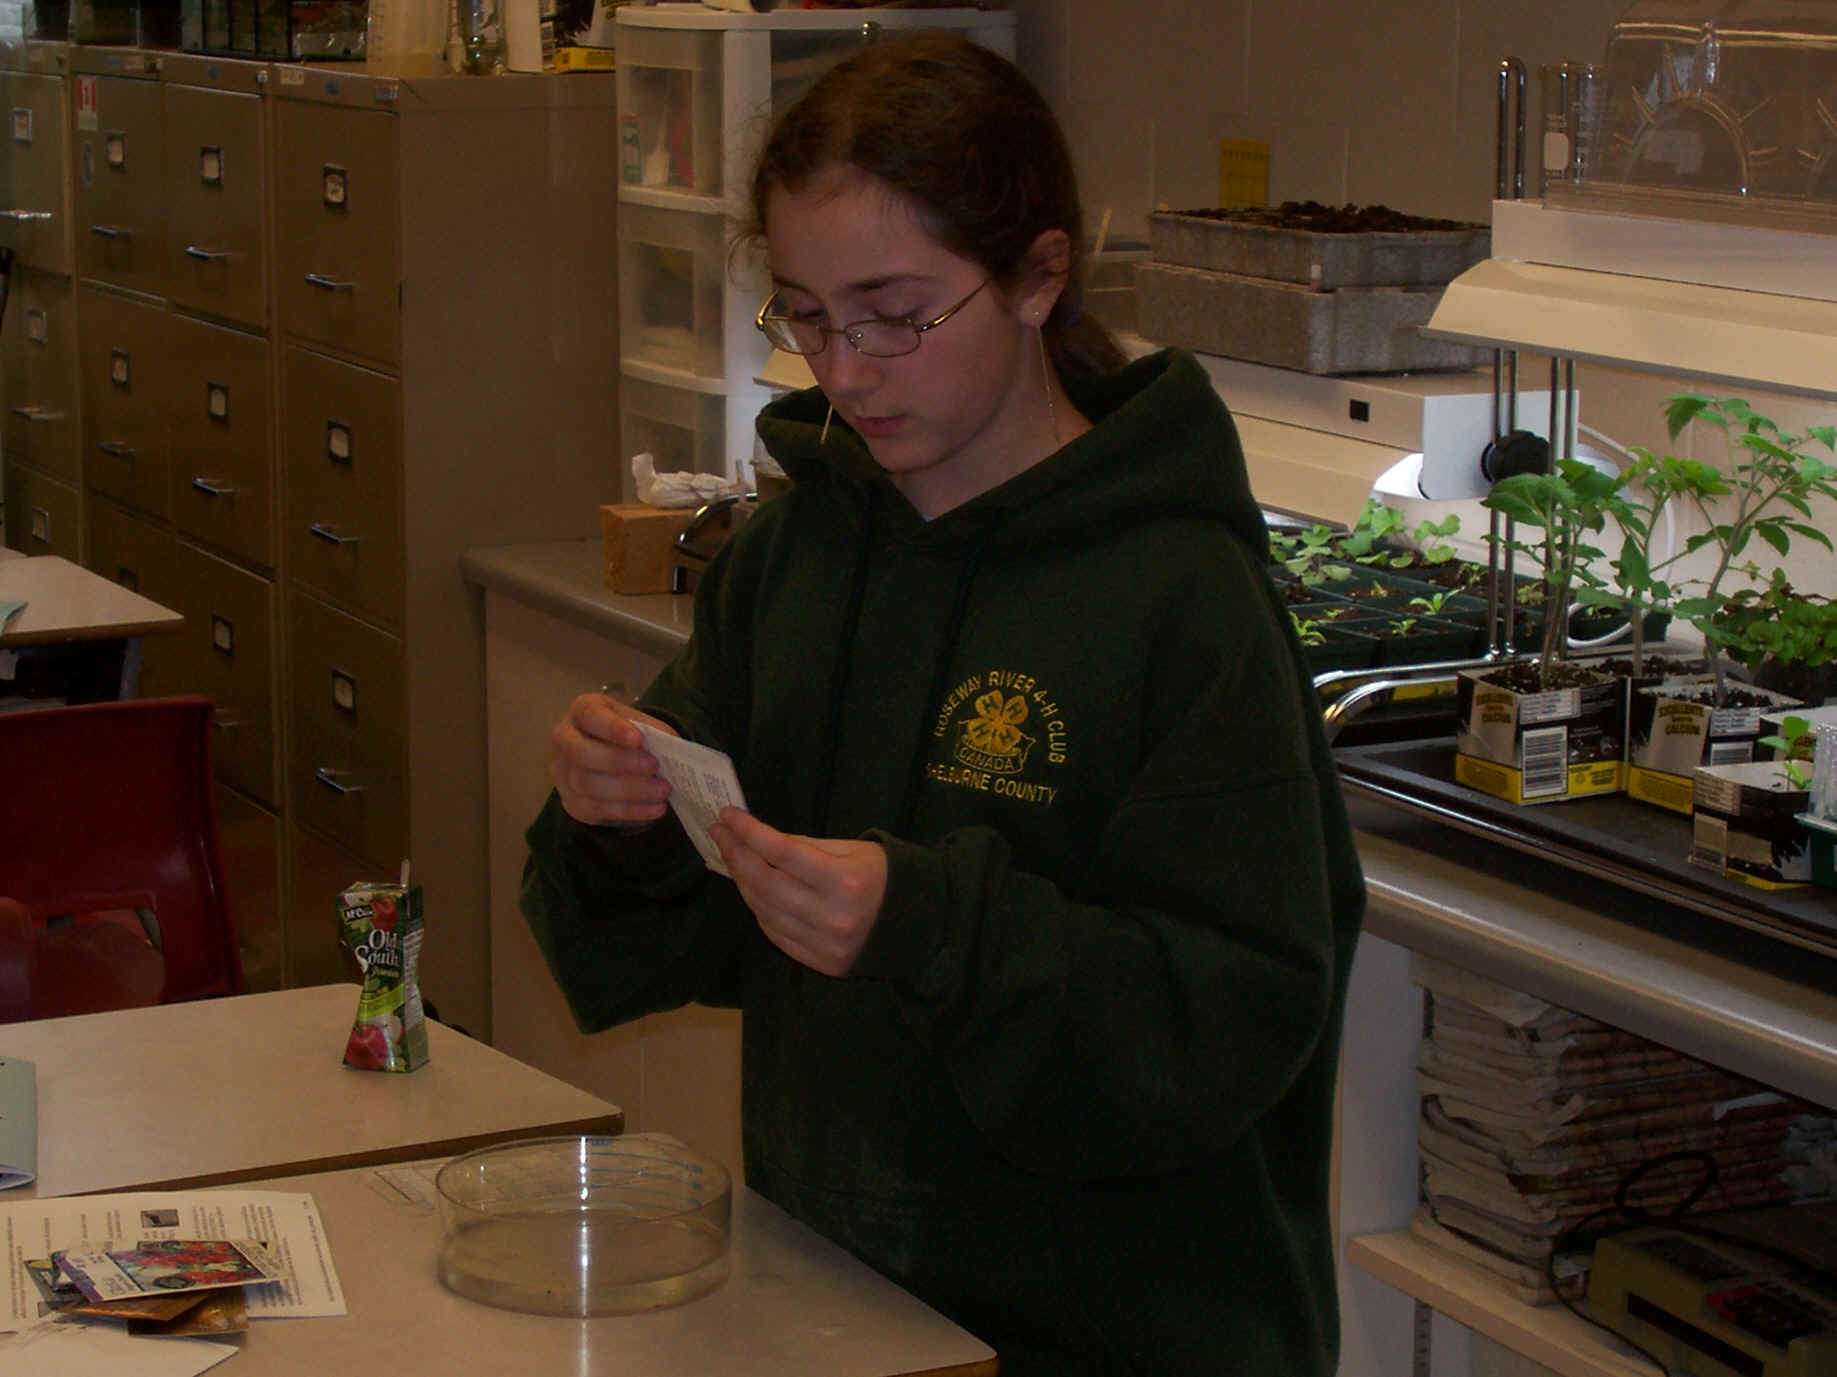
Planting seeds with a seed spoon and with a regular spoon
Seed Viability and Growing
Use the freshest seeds from a reputable seed company. They put "best before" dates on their seed packages. While some seeds will stay viable for years, as a rule, the older the seeds, the less likely they are to germinate.
Harvesting seeds: It is important to save seed from healthy plants because some diseases can be carried in seeds. Harvest seeds just before fruit is fully ripe. For flowers with exposed seeds, place the seed stalk or flower head in a bag and store in a warm, dry location. Seeds will fall into the bag when they are completely dry.
If you have seeds left from another year test their viability by putting them in a small dish of water: The viable ones will sink - those that won't germinate will float. Plant the viable ones (sinkers) right away because that exposure to moisture will prompt them to prepare to germinate.
|
Videos: | Placing seeds
in water to test for viability
Planting seeds with a seed spoon and with a regular spoon |
Sowing
For seeding containers use: cups made of newspaper, eggshell halves, waxed cardboard milk containers, seedling kits of various types. We also have self-watering seed starter kits.
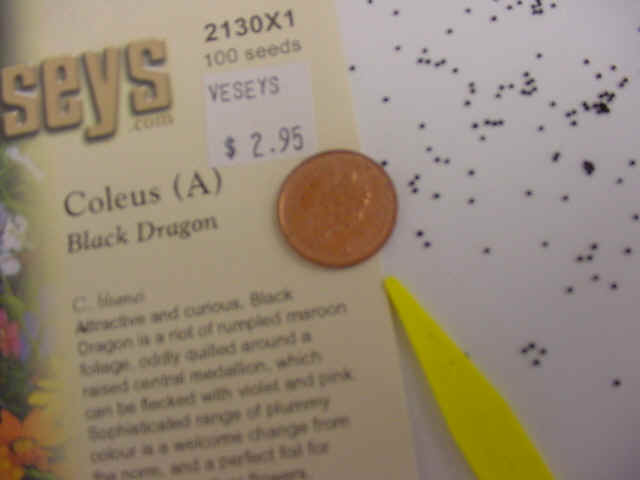 |
An "Easy Dial Garden Seeder" or a "Seed Spoon", work really well for planting tiny seeds (coleus) more accurately. |
Make sure your containers are clean ( if used before, wash thoroughly and disinfect in a rinse of warm water with bleach added), and use an appropriate good-quality potting medium.
Most seed packages give limited information, but most will tell what depth the seed should be covered with potting medium or left exposed (press tiny seeds into the top of the medium), germinated in light or darkness, at what temperature and how long germination will take.
| Some seeds need a particular type of treatment to wake them from their sleep and get them growing. Species with extremely tough coats, such as sweet peas and the morning glory, need to be soaked in water or scuffed with a file (scarification) to break their seed coats, while other species, like Maltese Cross, require chilling in a refrigerator (stratification) for a few weeks to break their dormancy. | 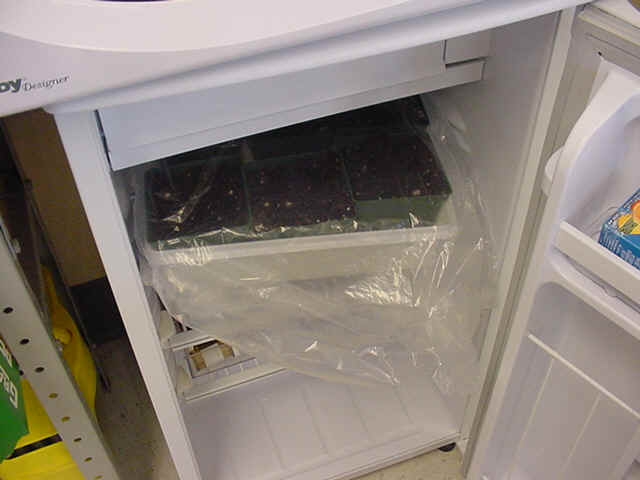 |
For very small seeds: Fill your pots or flats to within 1 cm of the rim. Moisten the soil by placing it in a pan of room temperature water until it is thoroughly wet. It is adviseabe to then redrench the mix with solution of Benomyl fungicide (1/2 teaspoon per 4 L of water FOLLOW THE DIRECTIONS!!) to prevent 'damping off' disease. Allow the excess water to drain from the pots/flats, tamp them lightly to pack the medium and you are ready for sowing.
Depending on the size of the seed you may have to create a seed 'trench' or punch a row of small holes with a dibble stick. The rows should be at least an inch apart. The planting depth is critical but is usually one or two times the diameter of the seed. Very fine seeds should not be covered at all, nor seeds that require light for germination. Some seeds come in a petteted form because of their size. These should not be covered at all, but merely pressed into the surface of the mix.
Carefully distribute your seeds onto the medium or into the small holes, using care to be sure that they are not crowded. This will ensure room for growth as well as good light and air circulation to the seedlings as they develop. It will also make it easier to transplant the new plants when the time has come. Now you should create a miniature greenhouse environment for the pots or flats. This can be done by placing the flat inside a sealed plastic bag (using small stakes to hold the plastic from actually resting on the soil mix), placing a sheet of glass over it, or actually building a mini house with a coat hanger frame and poly film (an old aquarium works very well). Doing this will almost eliminate the necessity of watering the bed again before the seeds germinate (be sure to keep an eye on it though, DON'T let it completely dry out). Place your flat in an area where it will get good light but not direct sun, and stay as close to the desired temperature as possible. Germination can take anywhere from a few days to a couple of months, depending on what you are growing, so patience will have to be on of your virtues. Once the seeds have poked their little heads up, remove the greenhousing and move the flat gradually into brighter light or sun. Your seedlings will be quite tender and fragile at this time, and a radical change can cause disaster.
Once your little seedlings are up, make sure they get plenty of light so they don't become spindly or leggy, 7 to 8 cm below a light in the GrowLab. If you are using window sills, turn your seedling flats daily so that the young plants won't lean excessively towards the light.
At this stage, the seedlings have underdeveloped root systems, so watering is critical (check daily). The potting medium must remain moist, but never wet or soggy, because this will prevent oxygen to the roots and drown the new plants. Bottom watering is best at this point because spraying can dislodge the plants and water on the leaves may lead to fungus attack. Temperatures should be kept at about 20-24 degrees.
Once the first true leaves (the second set to emerge) develop, you can begin to feed your plants. Up until this time the seedlings have been being nourished from the seed itself. Fertilizing should be still done from the bottom at this point, using a very dilute 1/4 strength mix of soluble all purpose plant food once a week. When the plants have reached about 75 mm you can begin to water and feed the plants from above.
When seedlings are five to eight centimetres tall and have two sets of true leaves, you can transplant them into larger containers if desired, but only handle the plants by their leaves or root balls, never by their fragile stems. (see sheet on transplanting) The medium should be kept moist but never wet or soggy. Feeding can be done weekly at 1/2 recommended strength.
Adapted from "Seeds of Spring" by Jodi Delong with permission.