 (overhead)
Self Portait Reflection 6R
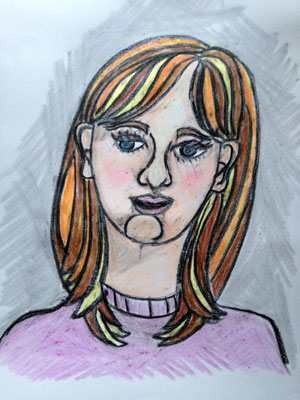
Create a self portrait reflection using a to be as accurate and in detail as possible.
Here are some tips:
1. Start with a light sketch.
Start with a light outline. Everyone thinks they know the proportions of a face, but when you really study the human face, its easy to realize that the eyes are not near the top of the head, they are more about half-way between the crown of the head and your chin. Get the major features first, lightly, to create a foundation so you can add in your details later. This way, if you make a mistake, you can easily erase it and it wont affect the minute details you will spend more time creating later on.
2. Add shadows and smudge them.
To make your sketch look professionally done, add shadows. You will want to go lightly here as well. To create realistic shadow effects, use a smudging tool or your finger to draw out the shadows. This will blend the medium you use whether it is graphite, charcoal, or pastel and your shadows will end up lighter and easier to clean up in case you make a mistake.
3. Do your hairline after you outline.
Start with the head and work out the proper length. Fill in with thick lines, then add shadowing and highlights as you go along.
4. Fine details come last.
After you have the outline and some of the shading done, its time for the fine details. Take some time filling in places in the eyes and lips, and also add some more shadowing to the neck so that your face doesn't have the appearance of floating in thin air. The finer details are the ones which really lend to the realistic quality of a self-portrait. You can add some color at this point with colored pencils (overhead) (examples)
(overhead)