Using a ruler, you can create a tetra box in a few moments.
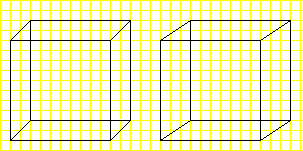
Step 1
Make a rectangle. It can be any size you like, but it needs to be a simple rectangle with no shading or embellishments added to it. This will be the back of your tetra pack.
Make a rectangle. It can be any size you like, but it needs to be a simple rectangle with no shading or embellishments added to it. This will be the back of your tetra pack.
Step 2
Move to the left and down, and draw another rectangle. This rectangle
should overlap the first rectangle you drew and it should be the same
size. This is the front of your tetra pack.
Step 3
Draw a line from the bottom-left corner of the first rectangle to the
bottom-left corner of the right rectangle. Connect all the corners in
this way.
Step 4
Play with the perspective by changing the length of the lines that
connect the front and back rectangles. You can also move the front
rectangle to the right rather than the left or to the top or bottom. All
of those changes alter the perspective in a 3D drawing.
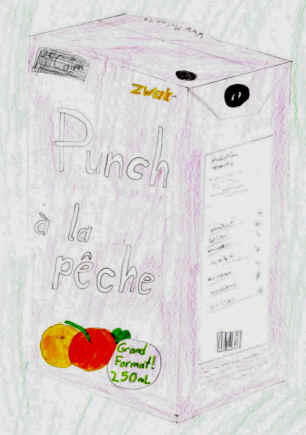
Next: add the details to your tetra pack. Make sure the lines of writing etc. are parallel with the lines outlining that side. Then colour the details.